States
Within the geographic module is the States, which allows to manage the states of the application, the states allow to associate them to the municipalities, to maintain a hierarchy and an organization.
What does this module allow you to do?
The States module allows you to create new States, edit, view details, setting up PyCPT and delete.

Note
To delete data in this module it must be logical deletion. (Logical deletions are those where the result is never actually deleted)
How to access to the states module?
To access to the state module, you must go to the top menu and select the Geographic option and in the submenu that is displayed you must select States.

Functionalities
Create states
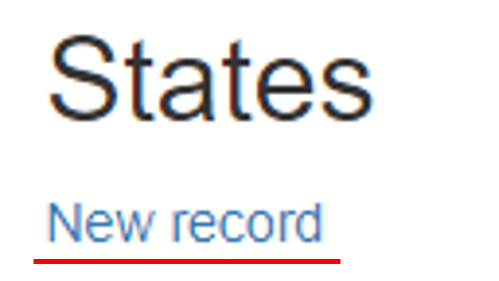
To create states you must select below the title States, the option New record.
You must complete all the fields

To finish you must press the Save button
Required fields
Field |
Description |
|---|---|
Name of the country |
in this field you must select the country to which the state will be associated. |
Name of the state |
is the name of the state. |
Edit states
To edit states you must select in the last column, the option Edit.
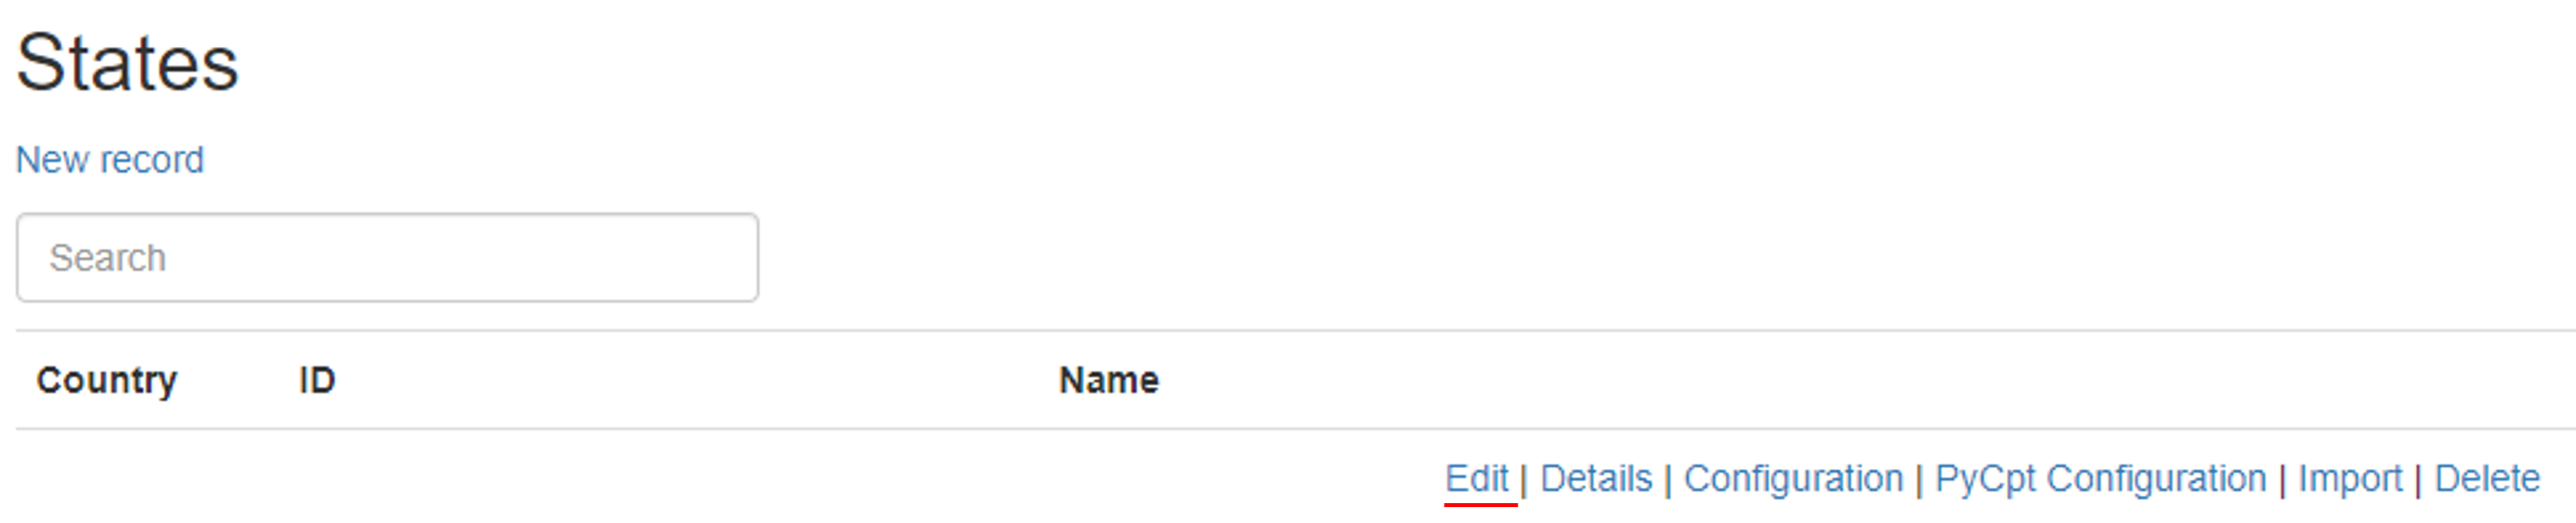
A new view will be displayed, where you can edit the state fields.

To finish you must press the Edit button
State details
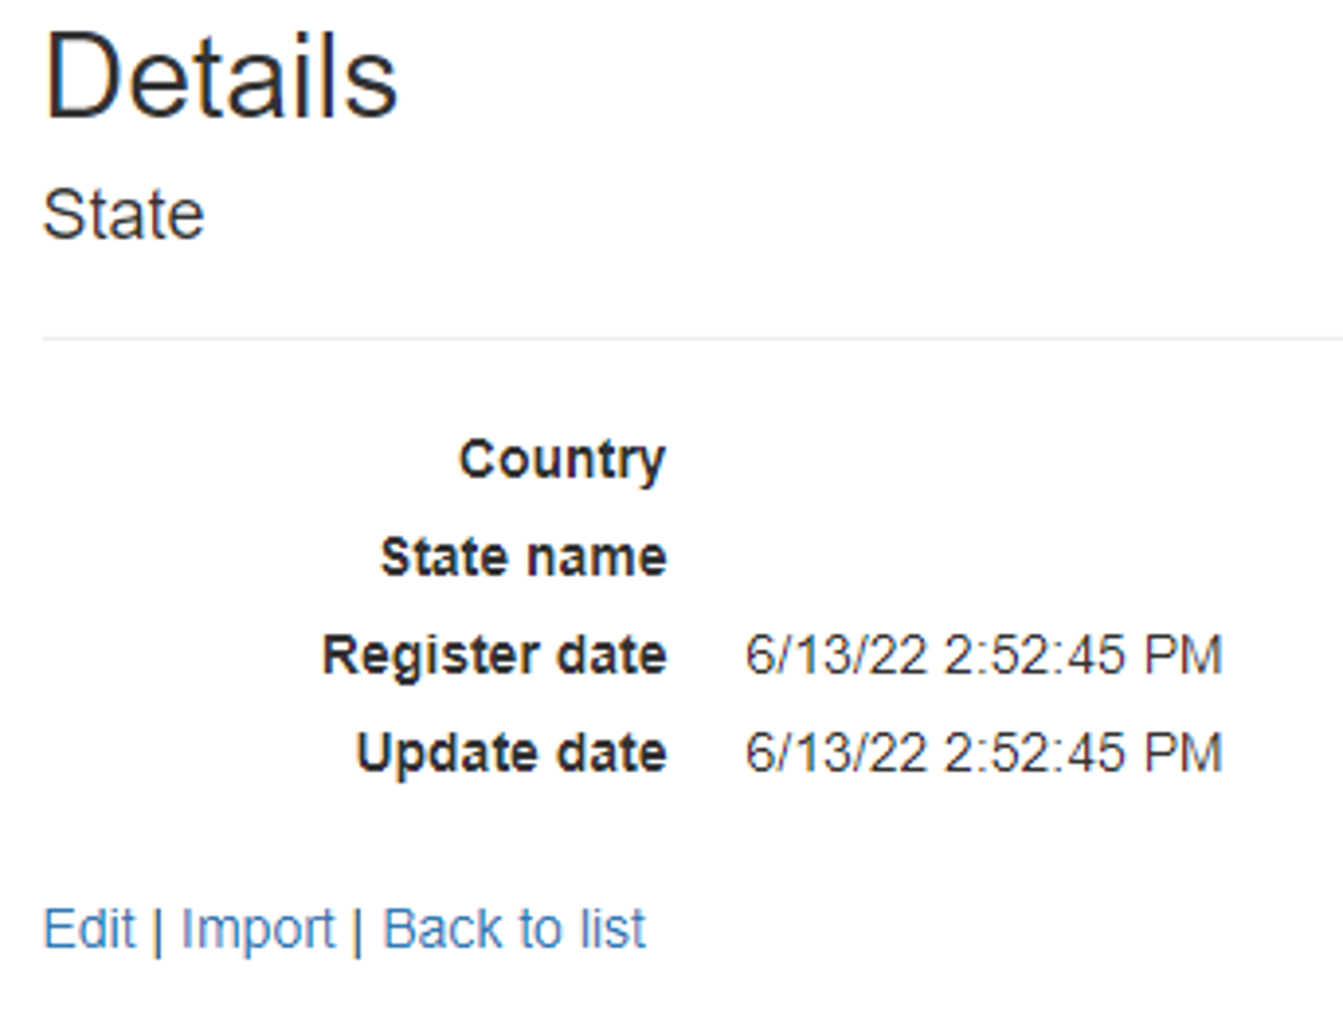
To view state details you must select in the last column, the option Details.

A new view will appear, in which you can view the state details.
Delete states
To delete one state you must select in the last column, the option Delete.

A new view will appear, in which you can delete the state.

To finish you must press the Delete button
Import municipalities and weather stations
This option allows you to import municipalities and weather stations associated with the selected state, by means of a csv file separated by “,”.
To import municipalities and weather stations you must select in the last column the option Import of the state to which the municipalities and weather stations will be associated.

A new view will appear, in which a csv file separated by “,” must be selected to perform the import, by means of the Choose File button.

To finish you must press the Import button
Note
The file must be in the following format for the system to operate correctly:
The file must contain 6 rows only.
At the end of each row there cannot be commas.
Row 1 must begin with the string origin followed by a comma and the name of the entity that provides or owns the weather station. Example:
origin,IDEAM
Row 2 must begin with the string longitude followed by a comma and the longitude values where each weather station is located each separated by a comma. Example:
longitude,-72.4575,239.9927588
Row 3 should begin with the string latitude followed by a comma and the values of the latitude at which each weather station is located each separated by a comma. Example:
latitude ,3.9495,3.9495
Row 4 must start with the string ext_id followed by a comma and the weather station id values each separated by a comma. Example:
ext_id,35090040,35180010
Row 5 must begin with the string municipality followed by a comma and the names of the municipalities each separated by a comma. Example:
municipality,Sabanalarga,Tauramena
Row 6 should begin with the string name followed by a comma and the names of the weather stations each separated by a comma. Example:
name,Reventonera,PraderaLa
The following is an example of what the file would look like in the excel viewer
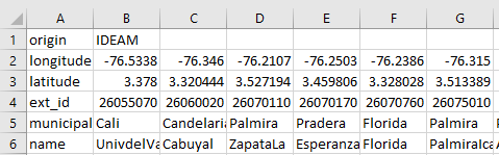
The following is an example of what the file would look like in text viewer
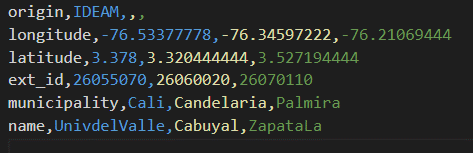
The files imported into the system are stored within the administration website in the Data/Imports folder, the name of the files consists of the date (yyyyMMddHHmmss format), a prefix (-state-mws-) and ends with the name of the file itself that was uploaded.
Configuration state
The CPT configuration is a tool that allows setting the parameters to be sent to the climate prediction model. This configuration must be performed for all the departments registered in the database.
For more details, please click here CPT setup
To configure the parameters, select the Configuration option in the last column.

A new view will appear, in which allows setting the parameters to be sent to the climate prediction model.

Note
The configuration is made for each quarter of the year for each state. For each of these, the amount of modes in canonical correlation, Amount X modes, Amount Y modes, gamma transformation and theoretical regions must be configured. All fields are mandatory. During the generation of the forecast the central month of each quarter will be taken.
The quarters of the year are represented as follows:
djf = December - January - February
jfm = January - February - March
fma = February - March - April
mam = March - April - May
amj = April - May - June
mjj = May - June - July
jja = June - July - August
jas = July - August - September
aso = August - September - October
son = September - October - November
ond = October - November - December
ndj = November - December - January
To add regions, click on the Add Region button. Each time the button is pressed, the system will enable the fields below to add coordinates. A region is composed of two pairs of coordinates to generate a rectangle, the first two fields (latitude and longitude) define the lower left corner, while the other two fields (latitude and longitude) define the upper right corner.

In the lower part of the view the currently available configurations are displayed. The configuration can be deleted by clicking on the delete button. The deletion is logical.

To finish you must press the Save button