Weather stations
Within the geographic module is the Weather stations, which allows to manage the weather stations of the application.
What does this module allow you to do?
The Weather stations module allows you to create new Weather station, edit, view details, activate the visibility, add yield ranges, import daily data and delete.

Note
To delete data in this module it must be logical deletion. (Logical deletions are those where the result is never actually deleted)
How to access to the Weather stations module?
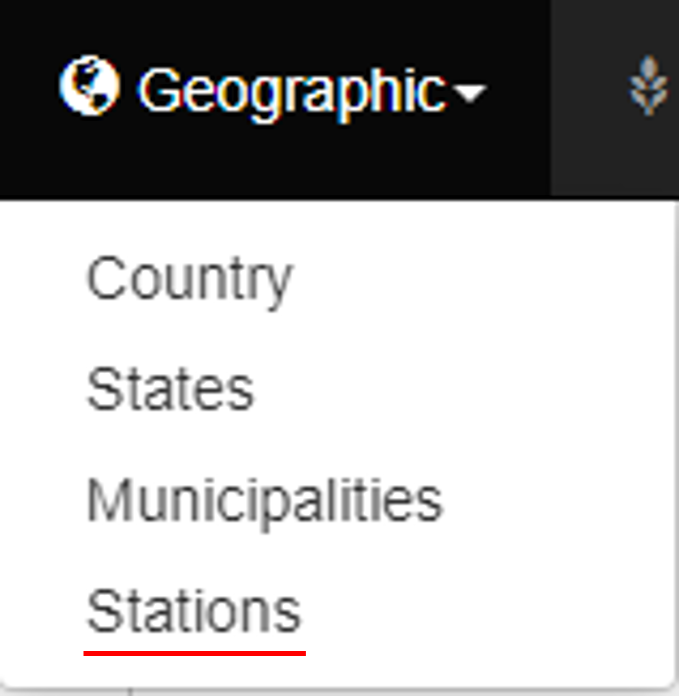
To access to the Weather stations module, you must go to the top menu and select the Geographic option and in the submenu that is displayed you must select Stations.
Functionalities
Create weather stations
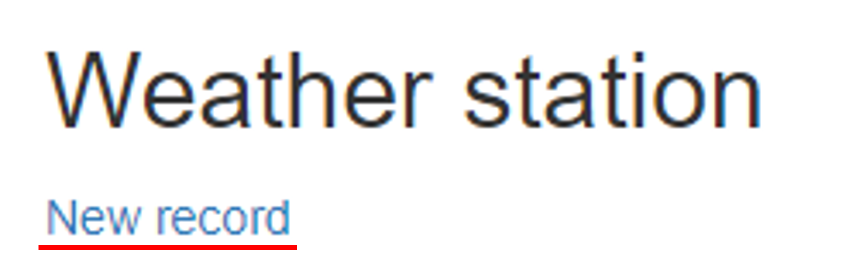
To create weather stations you must select below the title Weather station, the option New record.
You must complete all the fields

To finish you must press the Save button
Required fields
Field |
Description |
|---|---|
Municipality |
is the municipality with which the weather station is associated. |
Name |
is the name of the weather station. |
Source |
of origin establishes who provides the information. |
External code |
is the station code of the station’s provider. |
Visible |
sets whether or not to display it on the forecast website. It is also used to know which stations are to receive the weather forecast. |
Latitude |
sets in geographic coordinates the location of the station. |
Longitude |
sets in geographic coordinates the location of the station. |
Optional fields
The Elevation sets the level in meters above sea level at which the station is located.
Edit weather stations
To edit weather stations you must select in the last column, the option Edit.

A new view will be displayed, where you can edit the weather stations fields.
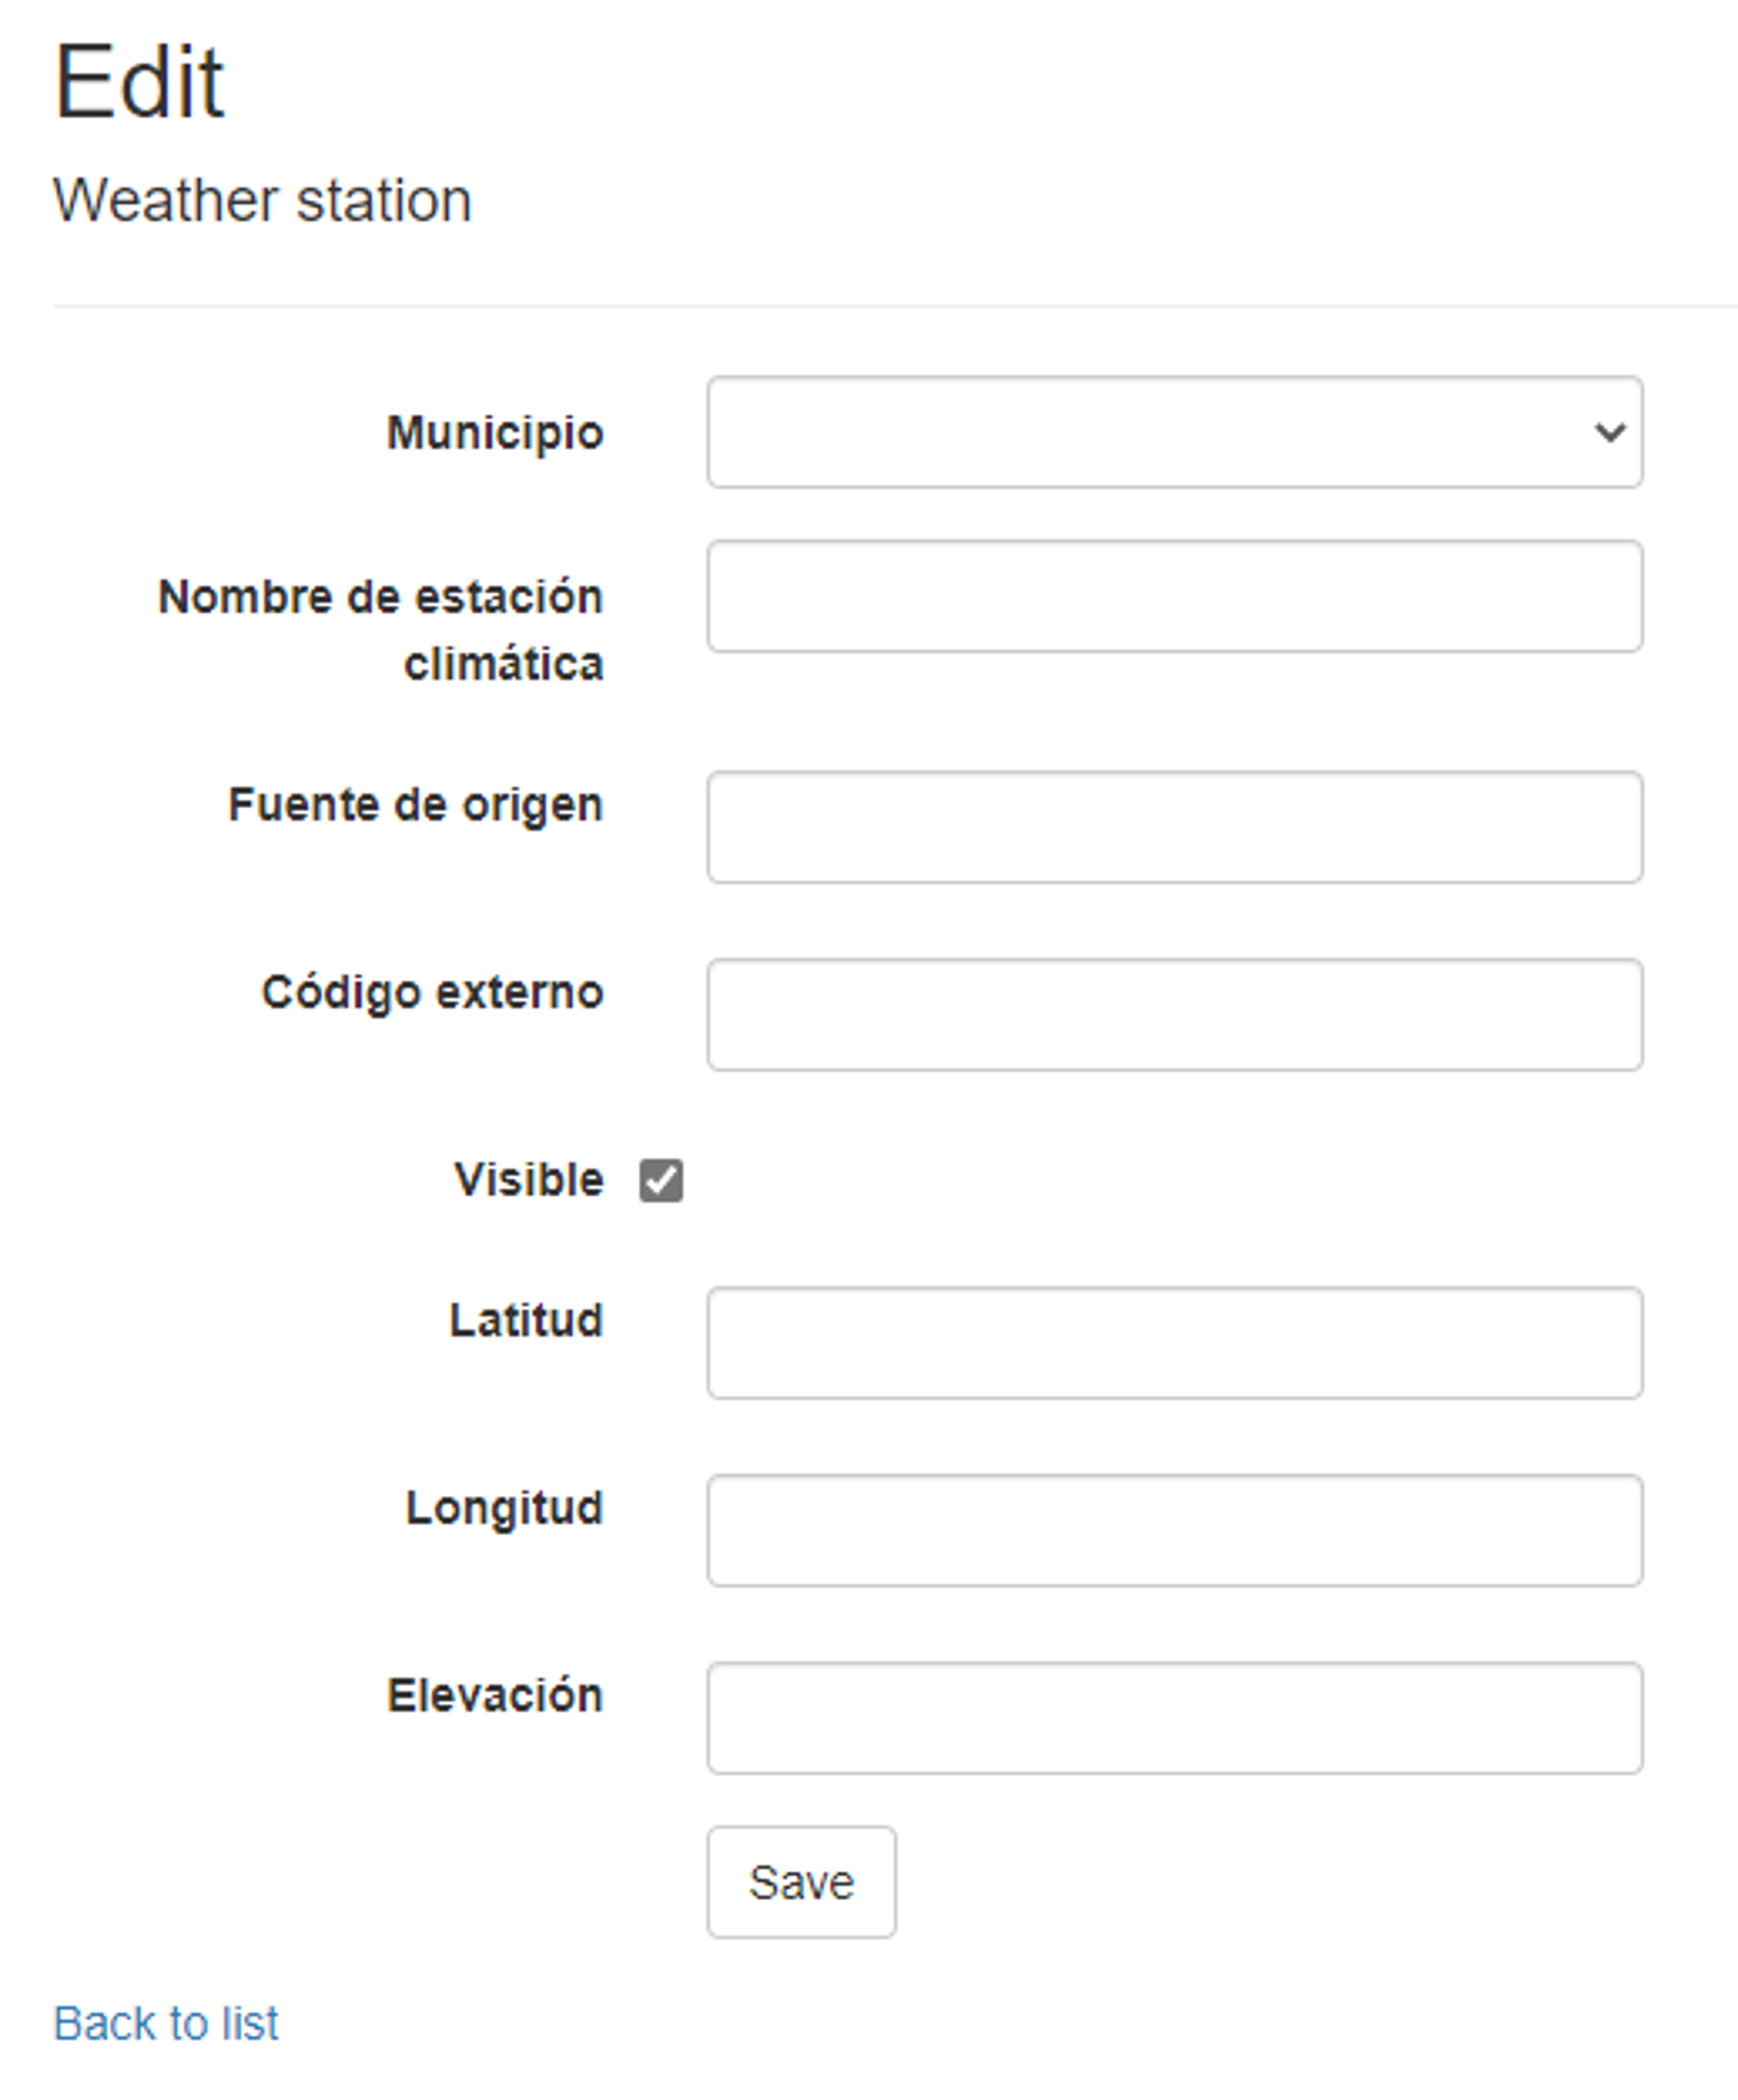
To finish you must press the Save button
Weather stations details
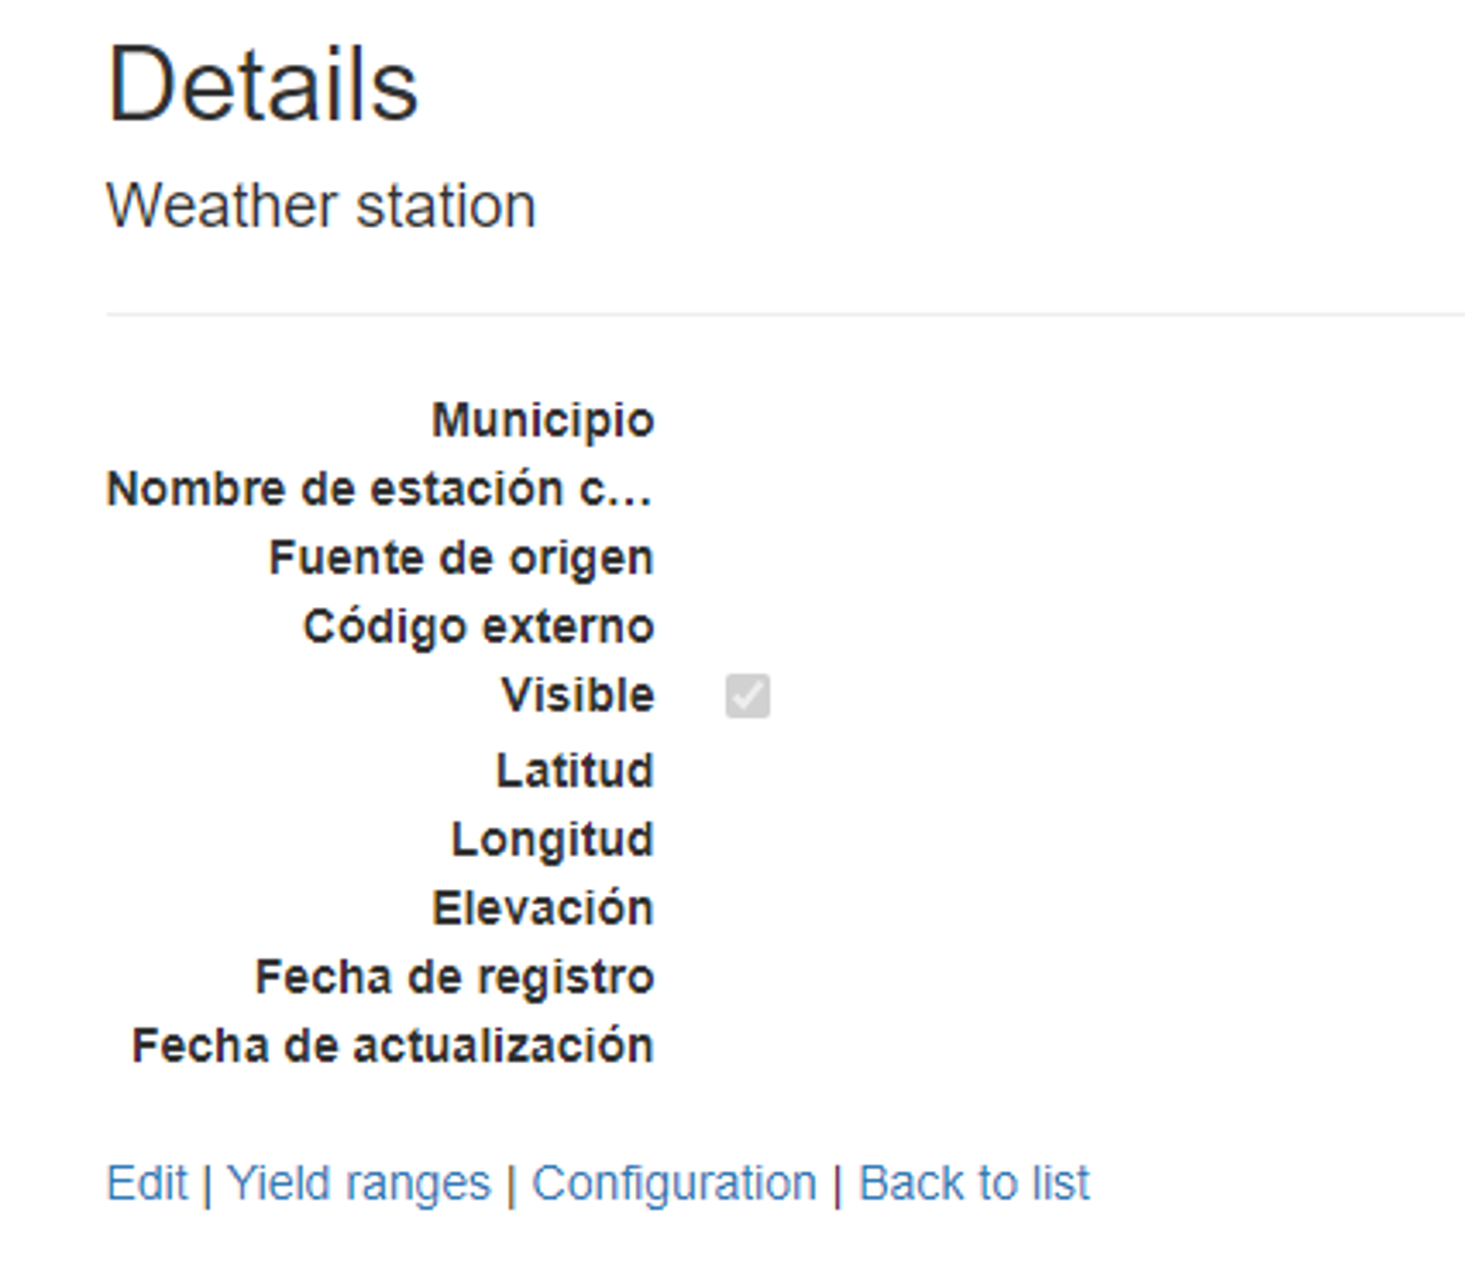
To view weather stations details you must select in the last column, the option Details.

A new view will appear, in which you can view the weather stations details.
Delete weather stations
To delete one weather stations you must select in the last column, the option Delete.

A new view will appear, in which you can delete the weather station.

To finish you must press the Delete button
Yield ranges
The production ranges allow managing the production levels of the different crops that have been historically presented in the climatic seasons. This serves to give the users a vision of the production thresholds that occur in the locality of the different crops. There can be several levels per crop per season, however it is recommended to have 5 levels for each crop.
For more details on how to import Yield Ranges and the format of the file to import, please click here Ranges configuration
Note
It is not necessary to add this information to all stations.
This does not intervene in any way during the agroclimatic forecast generation process, it is only used for visualization purposes.
To configure yield ranges, you must select in the last column, the option Yield ranges.

A new view will appear, in which you can setting the parameters to create the yield range.

Note
The configuration is made for each crop
In the button of the view the currently available configurations are displayed. The configuration can be deleted by pressing the delete button. The delete is logical.

To finish you must press the Save button
Required fields
Field |
Description |
|---|---|
Crop |
is the crop with which the configuration will be associated. |
Description |
is the levels that are generally added, usually are: Low, Fair, Normal, Good, Excellent. |
Lower limit |
is the lower limit in the configuration, the recommended minimum value to use is 0. The unit of measurement to be used in this case is Kg/ha. |
Upper limit |
is the upper limit in the configuration, the recommended maximum value to use is 99999. The unit of measurement to be used in this case is Kg/ha. |
Import daily data to the weather station
The configuration is a tool that allows the addition of files to be used later in the process of generating climate predictions, by means of a csv file separated by “,”. At the moment the only configuration being used is the daily historical data files. These files are required for the resampling process during the generation of the climate forecast.
For more details on how to import daily data and the format of the file to import, please click here Importing daily data
To import daily data you must select in the last column the option Configuration of the weather station to which the daily data will be added.

A new view will appear, in which a csv file separated by “,” must be selected to perform the import, by means of the Choose File button. The Name field must contain the name of the file, the name daily is used to import daily data.

In the button of the view shows the previously imported configurations. The last imported file with the name daily will be used for the weather forecast.
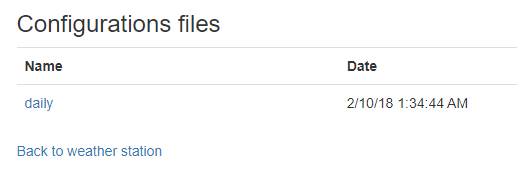
To finish you must press the Save button
Column |
Meaning |
|---|---|
day |
day of the month - number type |
month |
month of the year - number type |
year |
year - number type |
t_max |
maximum temperature °C - double type |
t_min |
minimum temperature °C - double type |
prec |
precipitation mm - double type |
sol_rad |
solar radiation MJ/m²d - double type |
Note
The file must be in the following format in order to correctly generate the resampling:
This file should contain information on at least 30 years of historical data.
The data it contains are: day, month, year, maximum temperature (t_max), minimum temperature (t_min), precipitation (prec) and solar radiation (sol_rad).
The first row of the file is the header and should be in the following format:
day,month,year,t_max,t_min,prec,sol_rad
The following lines should contain the information for this station. Example:
1,1,1980,30.67449154,22.67449154,0,16.37537505
The units of measurement for each variable are:
t_max = °C
t_min = °C
prec = mm
sol_rad = MJ/m²d
The following is an example of what the file would look like in the excel viewer
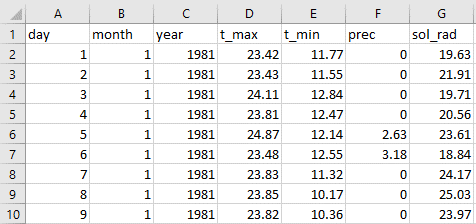
The following is an example of what the file would look like in text viewer

The files imported into the system are stored within the administration website in the Data/Configurations folder, the name of the files consists of the date (format yyyyMMddHHmmss), an antenna name (-wsconf-), the weather station id, an antenna name (-) and ends with the name of the file itself that was uploaded.